
VW Transporter T6.1 Conversion
- james47993
- Dec 2, 2020
- 2 min read
Updated: Feb 18, 2022
Here we go again, cutting yet another hole into a perfectly fine brand new Transporter van. This time its to add a window behind the sliding door.
More important than anything else is to prep. We masked off the surrounding area and covered the whole panel with some left over insulation sheets. When cutting through the metal wall it is so important to make sure that no metal flakes can fall down the body work possibly scratching or marking the paint work.

With all of this in place we were able to drill the holes in the corner of the panels so we were able to get our nibbler bit into place to cut along the pre-existing inner framework as you can see in the 3rd picture below.
It’s basically the same procedure all around the window frame being very careful to keep as straight as possible and not wo wonder off of the line. The final cut through the reinforced metal can be cut by an angle grinder. All of the edges get filled down and painted.


So far that’s as far as we have gone with this side of the van. We will wait to line the inside of the van before putting this window in place.
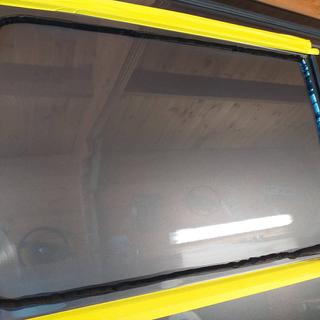
As for the other side of the van, we have placed a dark dummy window in place so it matches the other side of the van. ~ This is purely cosmetic.
A strip of tape is placed on the glass before hand so when we are ready this can be flipped up over the van to hold the glass in place until fully bonded.


There are many more steps to go in this camper conversion so check back in for the next update.
☑️ We build Campers ☑️


Comments